Important Note: FutureSpam/UltraVault customers are unable to use this service.
Step 1
Go to https://portal.office.com/
Step 2
Enter your Global Administrator Email Address and click Next

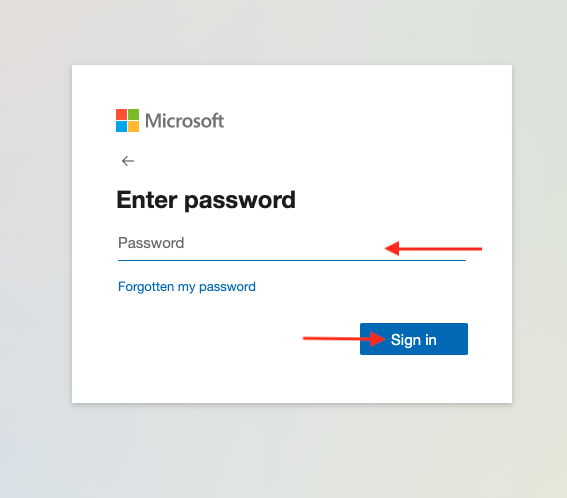
Step 3
Enter your Password and click Sign in
Important Note: If you have Multi-Factor Authentication enabled follow the on-screen instructions to continue
Step 4
Click Yes to stay signed in

Important Note: If you are asked to either sign in with Work or School Account or Microsoft Account, Please select Work or School Account
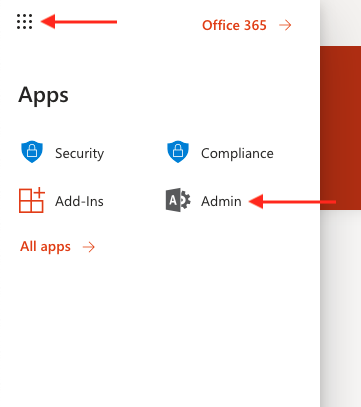
Step 5
Click the waffle icon (Nine Dots) then click Admin (If admin isn't listed click All apps)
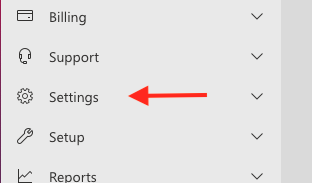
Step 6
Select Settings
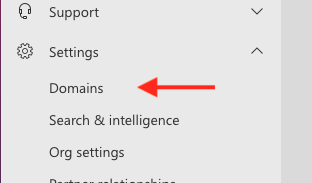
Step 7
Select Domains
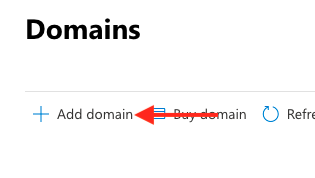
Step 8
Click Add Domain
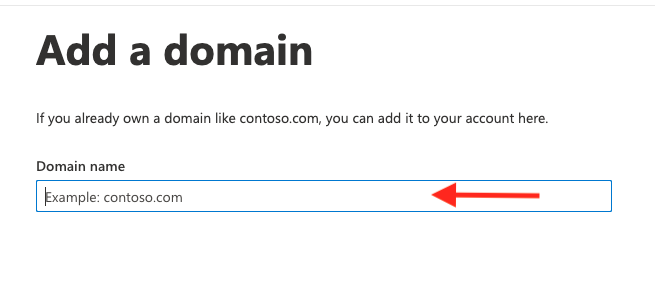
Step 9
Enter your Domain Name
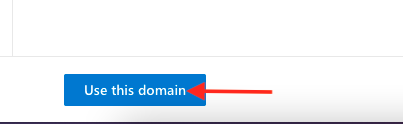
Step 10
Click Use this domain
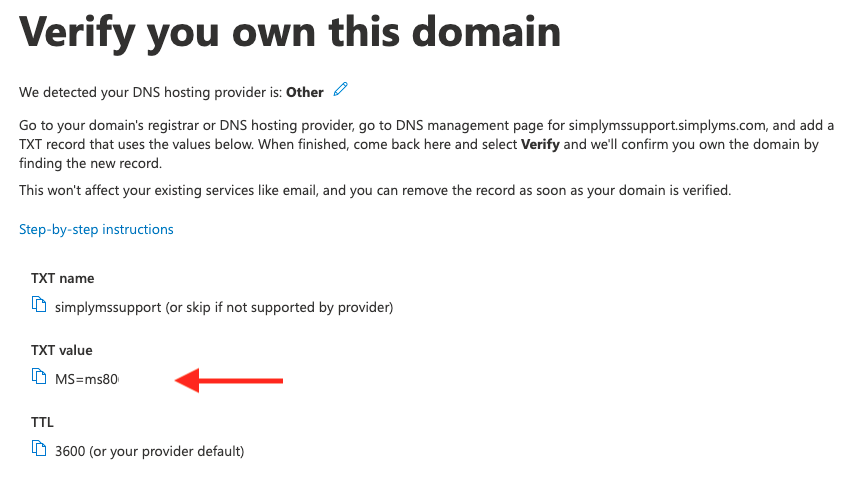
Step 11
Copy the TXT value.
Then add it as a TXT record with your existing Domain name or DNS provider. If your domain name or DNS is with SMS, please open a ticket with support advising us of this value and we will add this for you.
Step 12
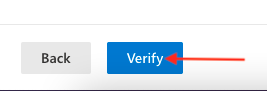
Once the TXT value has been added and confirmed, click Verify
Step 13
Your domain name will now be verified, if you see any errors please allow some time for the TXT value to be updated on your domain DNS, this can sometimes take 24hrs
Step 14
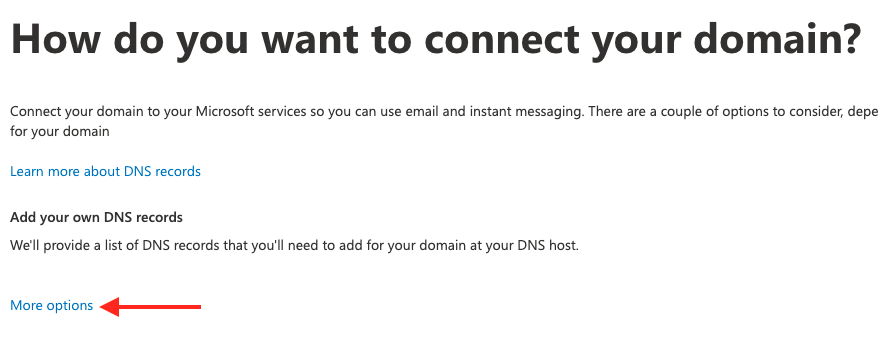
Click More options
Step 15
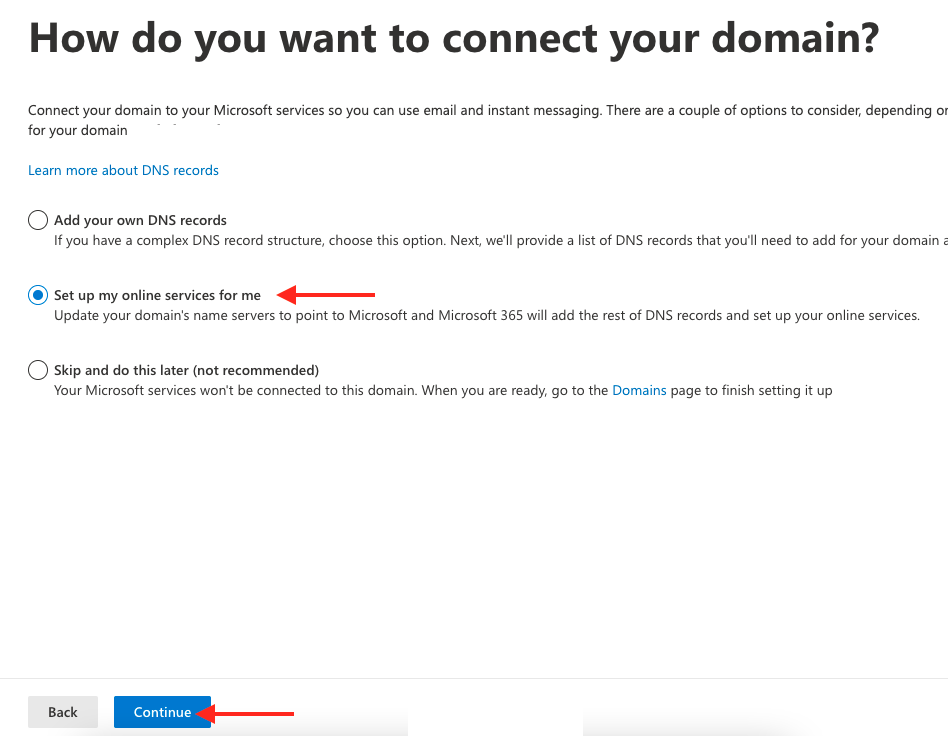
Click Set up my online services for me then click Continue
Step 16
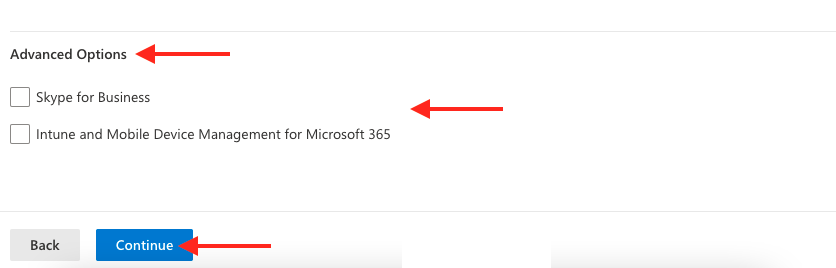
Click Advanced Options and check all checkboxes then click Continue
Step 17
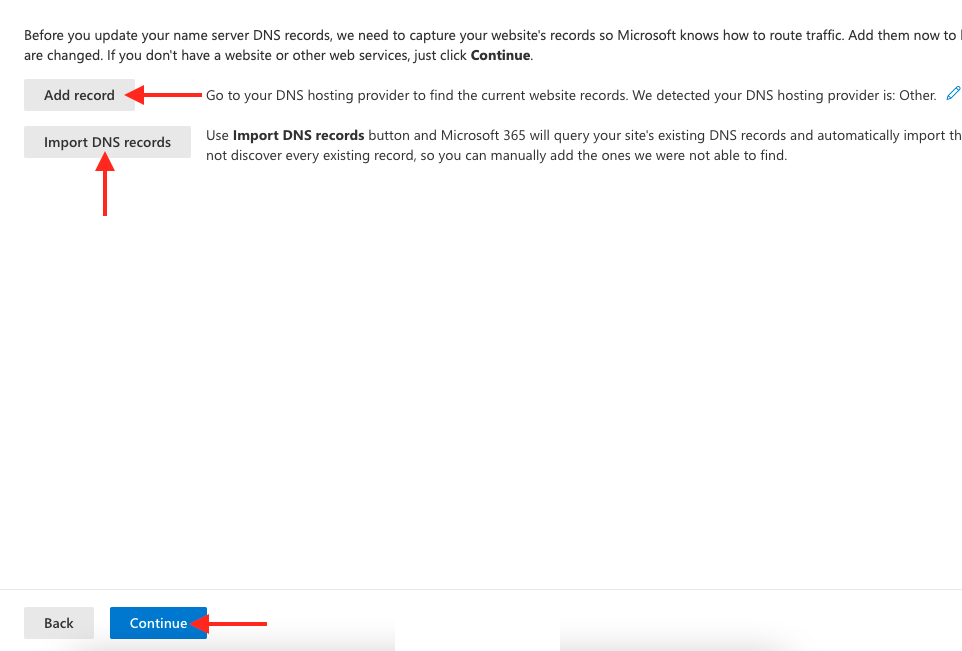
To add any additional records your domain may be using click one of the following
- Add a record - This will open a pain to add your additional records manually
- Important DNS records - This will use autodiscovery to scan your domain for other records you may be using and add them automatically*
*In some situations autodiscovery may not pick up all records your domain is using, please check your existing records before continuing
Once done click Continue
Warning: Please make sure you add all records that your domain is using before continuing, as any other services other than email which uses your domain will stop working once Office 365 is hosting your DNS records
Step 18
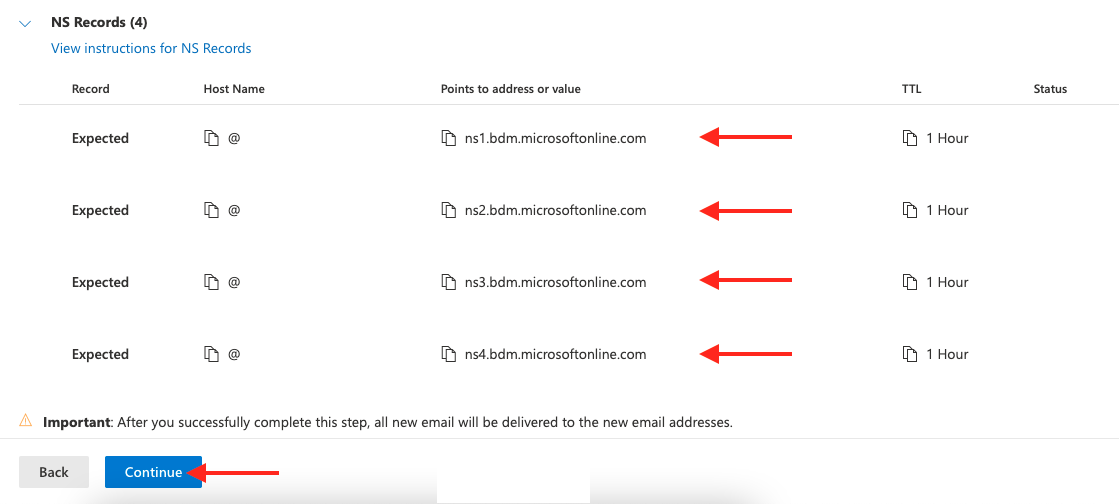
Copy all four Nameserviers records and update them with your existing domain provider, if SMS is your provider please open a ticket with our support team to make these changes once updated click continue
Important Note: Nameserver records can take anything from 1-24hrs to update, please keep checking this page to check they have updated
Step 19
Click Done to finish setting up your domain

