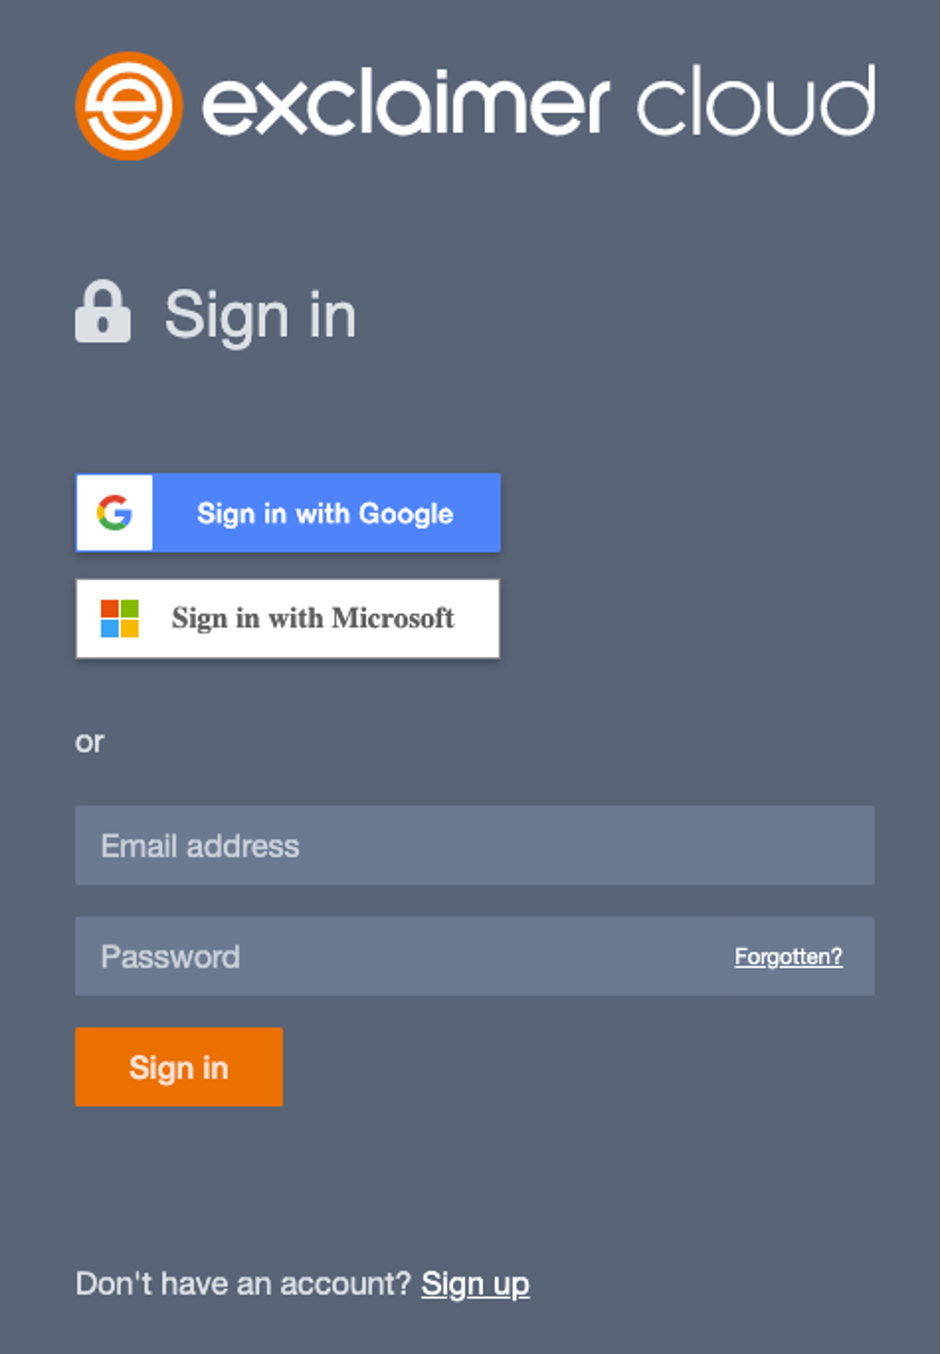
Step 1
Log into the Exclaimer cloud portal https://portal.exclaimer.com using your admin credentials
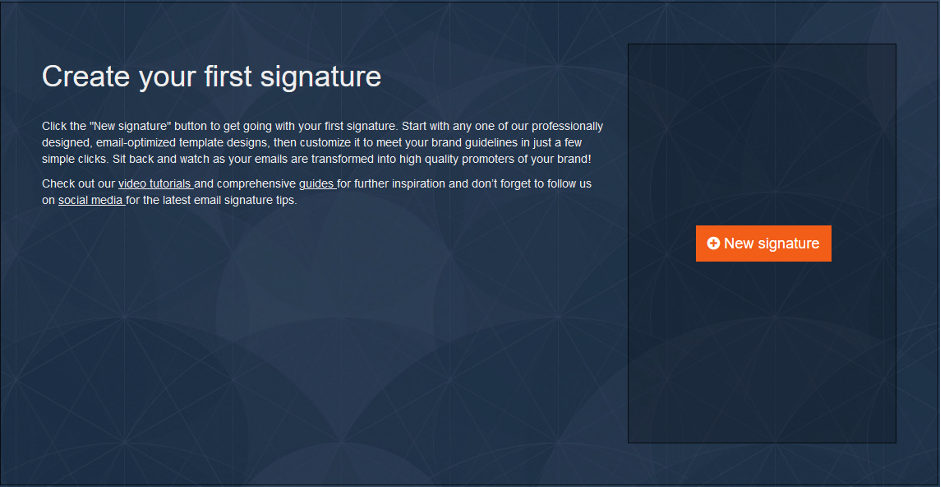
Step 2
You should see this screen after the completion of the initial setup, click New signature
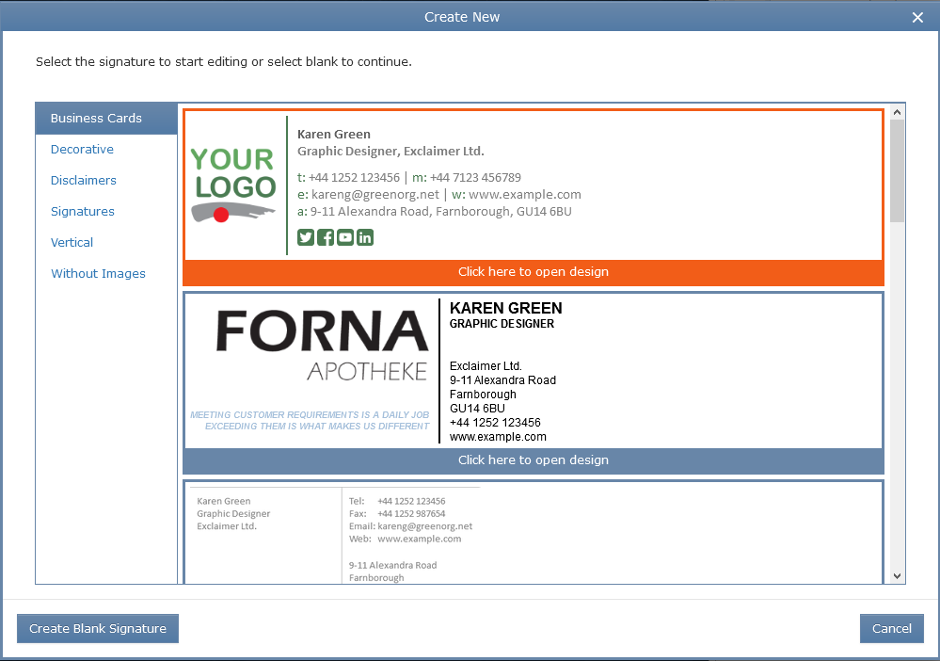
Step 3
Either chose a signature from the template list or click Create Blank Signature
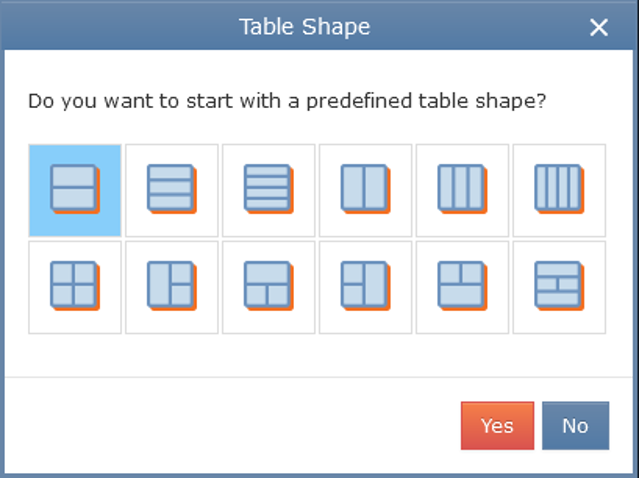
Step 4
Chose a table layout you wish to use for your signature, then click Yes otherwise click No for no preferred table layout
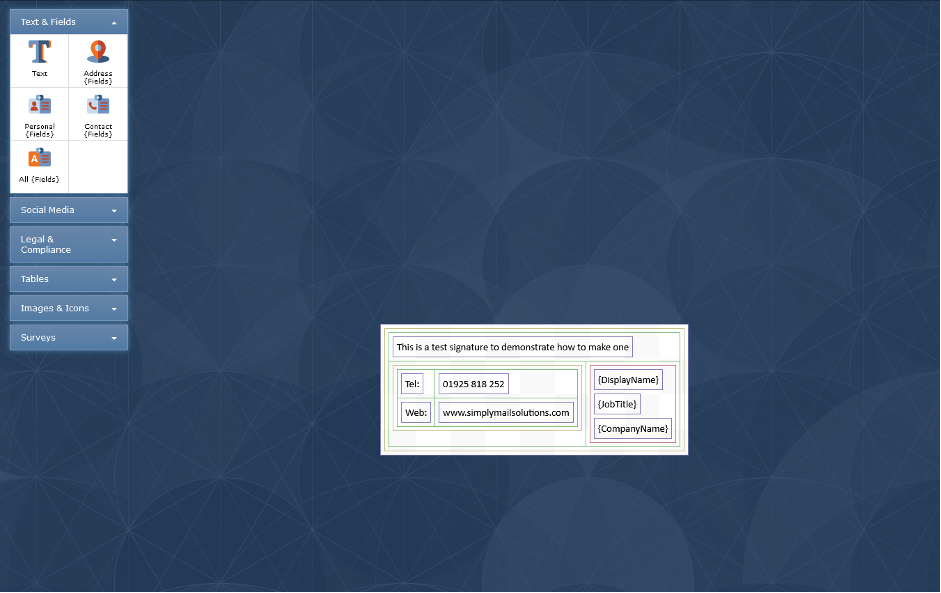
Step 5
From the right-hand side, elements menu drag an element you wish to use onto the signature as shown below
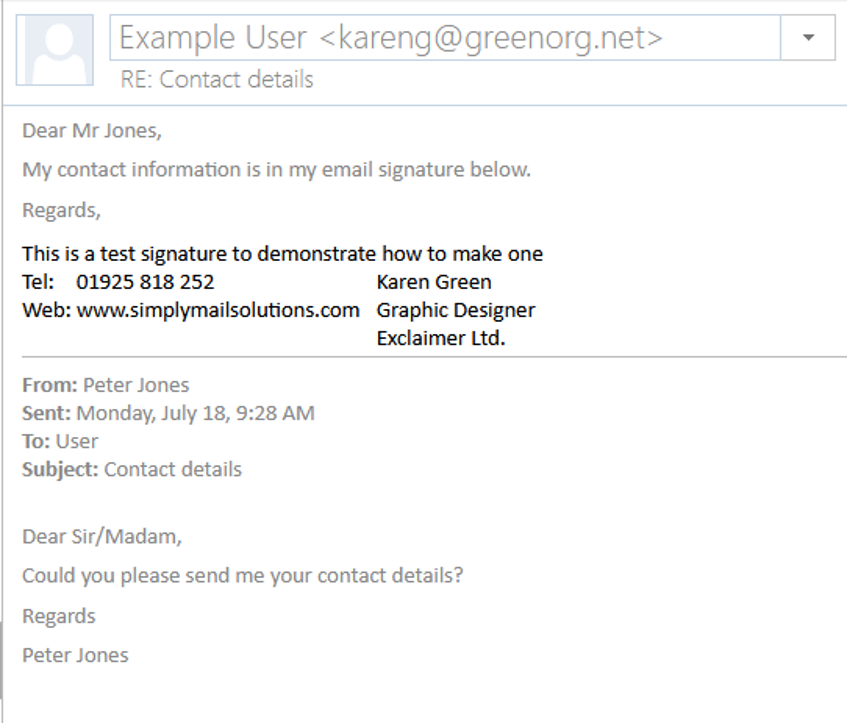
Step 6
From the right-hand side you can preview your signature, once you're ready to save click Save at the top right-hand side of the screen, then give your signature a name, finally click Close
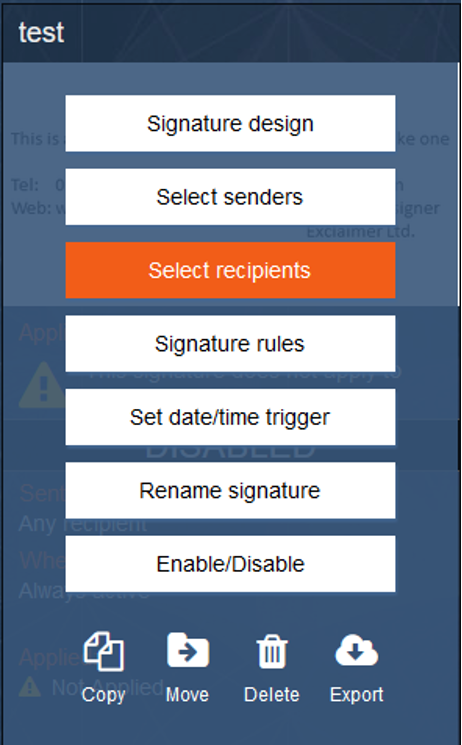
Step 7
Hover over your signature design until the options are displayed
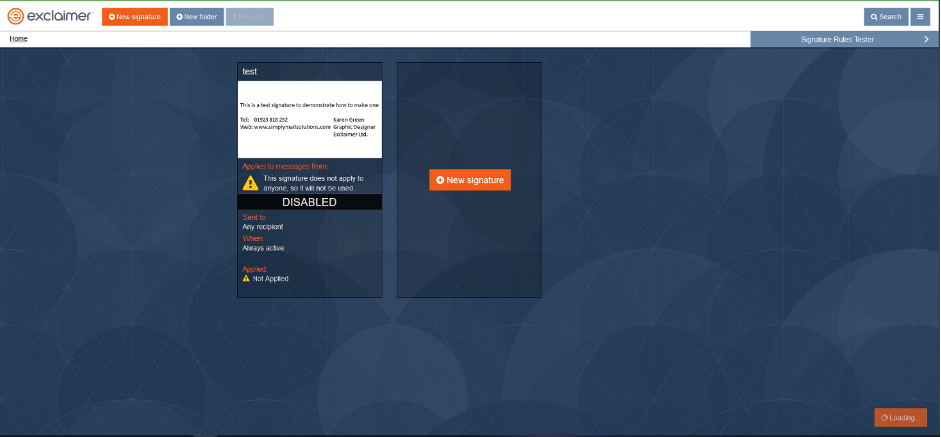
Step 8
You can now enable your signature, by clicking Enable/Disable