This guide is for existing customers who are already using the Office 365 DNS management portal
You will need to be assigned the Global Administrator Role in order to complete these steps, we can only assign this role to the account holder or the account holder can request another user by raising a support ticket
Step 1
Go to https://portal.office.com/
Step 2
Enter your Global Administrator Email Address and click Next

Step 3
Enter your Password and click Sign in
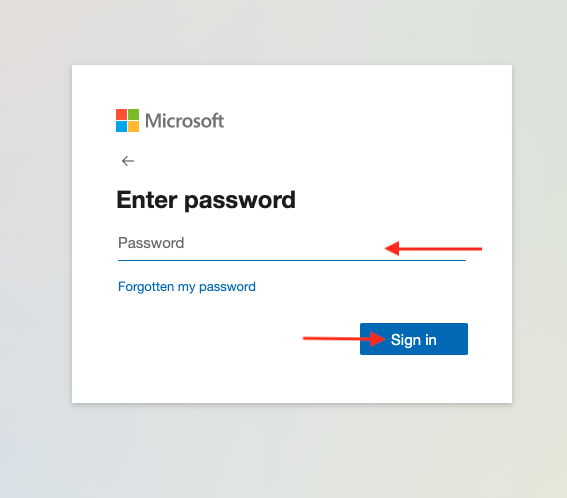
Important Note: If you have Multi-Factor Authentication enabled follow the on-screen instructions to continue
Step 4
Click Yes to stay signed in

Important Note: If you are asked to either sign in with Work or School Account or Microsoft Account, Please select Work or School Account
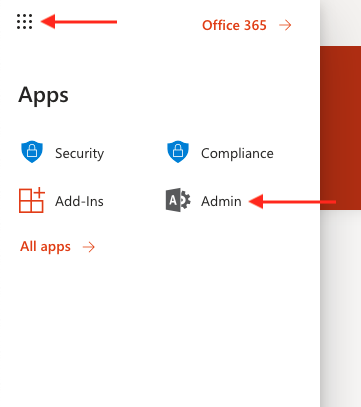
Step 5
Click the waffle icon (Nine Dots) then click Admin (If admin isn't listed click All apps)
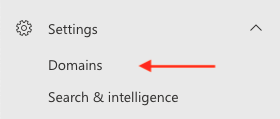
Step 6
Click Settings

Step 7
Click Domains
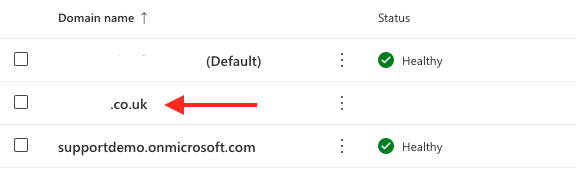
Step 8
Click your Domian Name
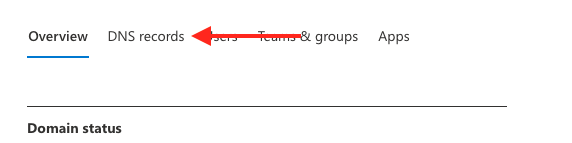
Step 9
Click DNS records
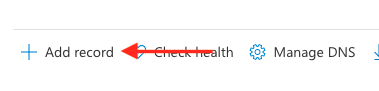
Step 10
Click Add record
Step 11
Choose the record type you wish to add and provide the details of the record, once done click Save
Office 365 supports the following DNS record types
- A
- AAAA
- CNAME
- MX
- TXT
- SRV

Step 12
Please allow 1-24hrs for your new record to be published
