You will need to be assigned the Global Administrator Role in order to complete these steps, we can only assign this role to the account holder or the account holder can request another user by raising a support ticket
Please note some domain name providers (GoDaddy, 1&1 Ionos etc.) now support an authorised (Auto Configure) method for adding DNS records, SMS currently doesn't support this method for our own DNS, if you are with a provider who does support this method the steps are slightly different, please contact our support team for further assistance.
Step 1
Go to https://portal.office.com/
Step 2
Enter your Global Administrator Email Address and click Next

Step 3
Enter your Password and click Sign in
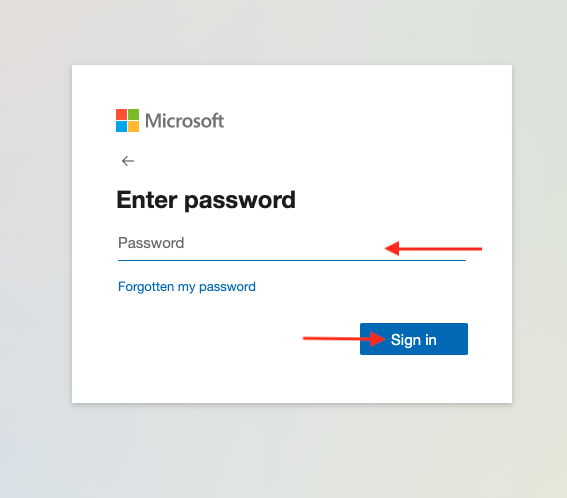
Step 4
Click Yes to stay signed in

Important Note: If you are asked to either sign in with Work or School Account or Microsoft Account, Please select Work or School Account
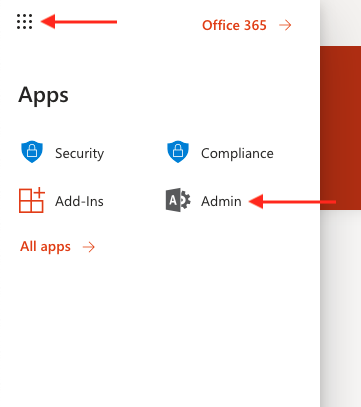
Step 5
Click the waffle icon (Nine Dots) then click Admin (If admin isn't listed click All apps)
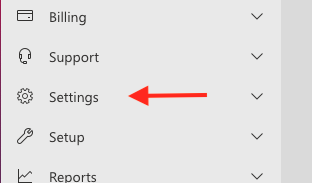
Step 6
Select Settings
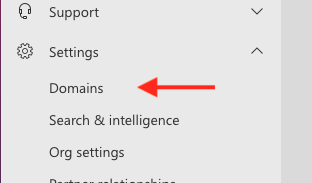
Step 7
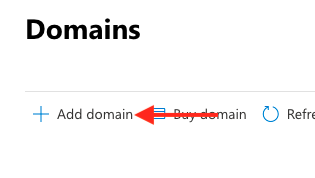
Select Domains
Step 8
Click Add Domain
Step 9
Enter your Domain Name
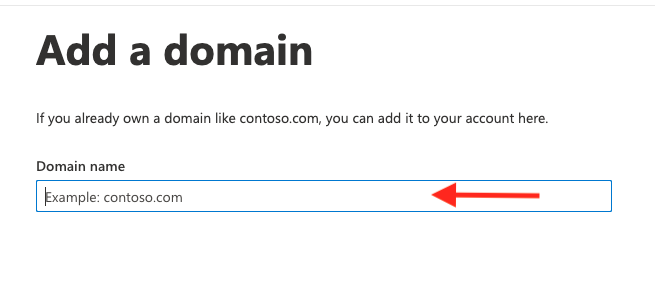
Step 10
Click Use this domain

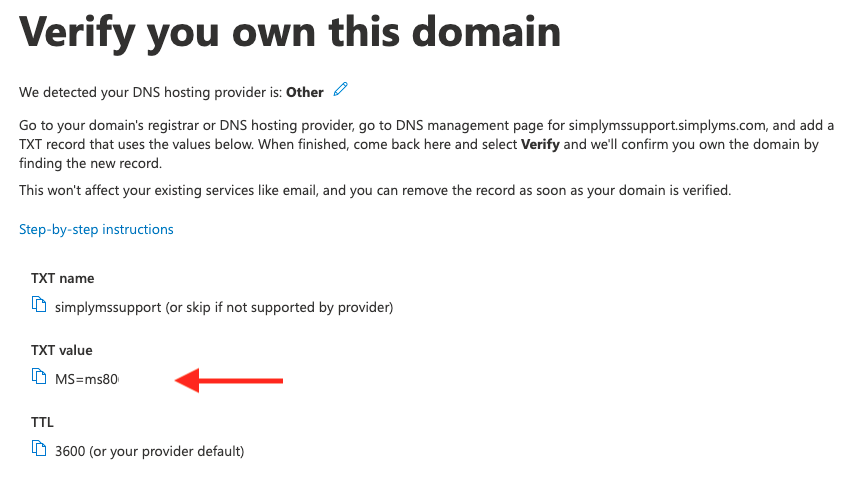
Step 11
Copy the TXT value.
Then add it as a TXT record with your existing Domain name or DNS provider. If your domain name or DNS is with SMS, please open a ticket with support advising us of this value and we will add this for you.
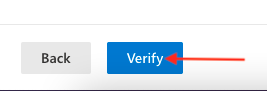
Step 12
Once the TXT value has been added and confirmed, click Verify
Step 13
Your domain name will now be verified, if you see any errors please allow some time for the TXT value to be updated on your domains DNS, this can sometimes take 24hrs
The next steps will cover adding all the DNS records to your domain name so you can use the Office 365 services, before continuing please be very careful if you currently have active mailboxes on your domain name making these change below will stop them from working. If you plan to use Office 365 please ensure you add all your mailboxes first, please refer to our guide How to Create an Office 365 Mailbox if this is a new domain name that has never been used before please continue with these steps below.
Step 14
The domain wizard will not walk you through configuring your domain names DNS records
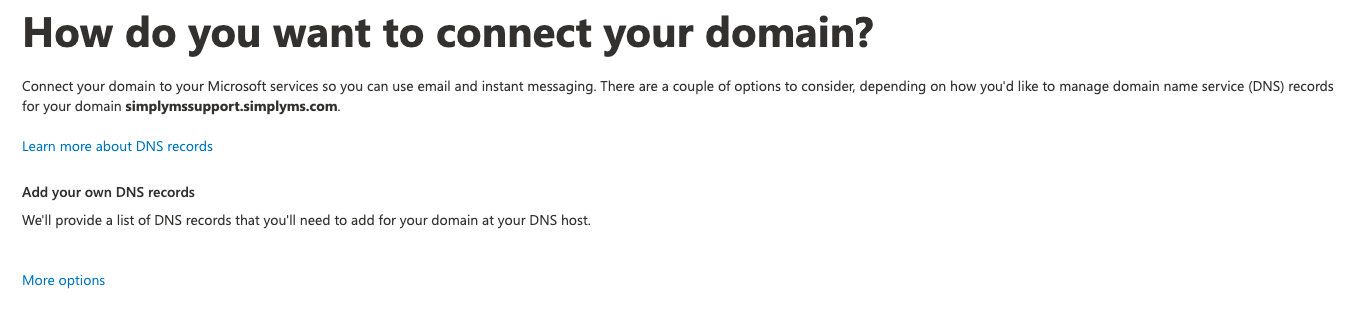
Step 15
Click Continue
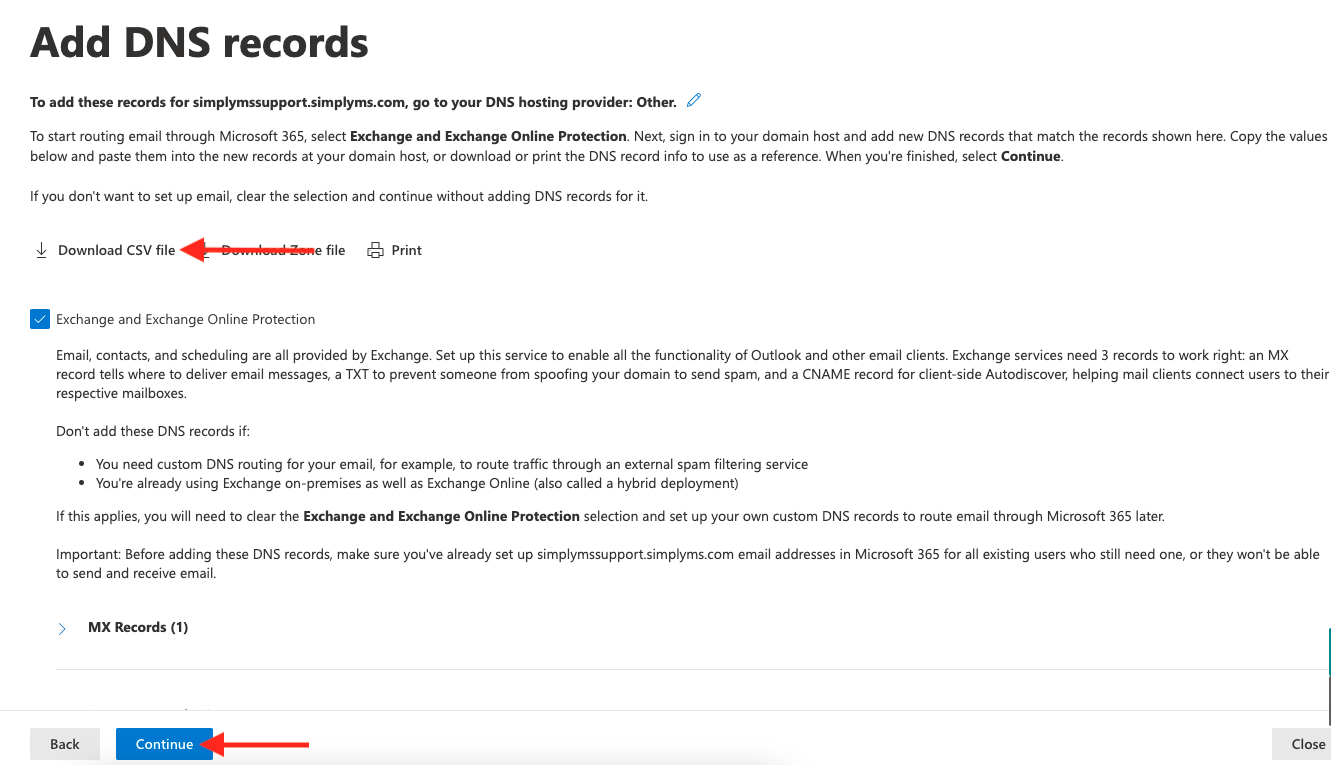
Step 16
Click Download CSV file
Then add all the records contained within the CSV file at your existing Domain name or DNS provider. If your domain name or DNS is with SMS, please open a ticket with support advising us of these records and we will update them for you.
Click Continue once added
Step 17
Office 365 will now check all the DNS records are in place and have been added correctly, this process can take several minutes to complete

Step 18
Your domain name is now setup on Office 365
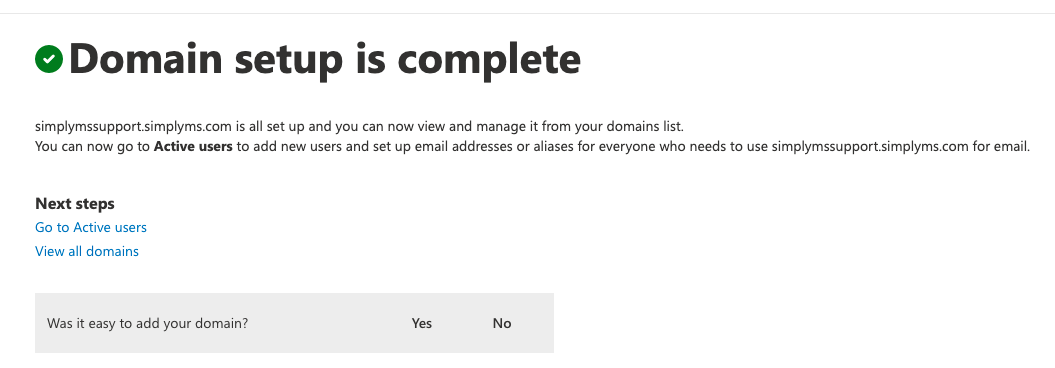
Step 19
Click Done to close the wizard