IMPORTANT: You must have a Windows 365 Business subscription assigned to your Office 365 account prior to following these steps below
1. Go to https://windows365.microsoft.com/
2. Enter your Office 365 Email Address and click Next

Important: If you are asked about the sign-in type, Please select Work or School Account
3. Enter your Password and click Sign in
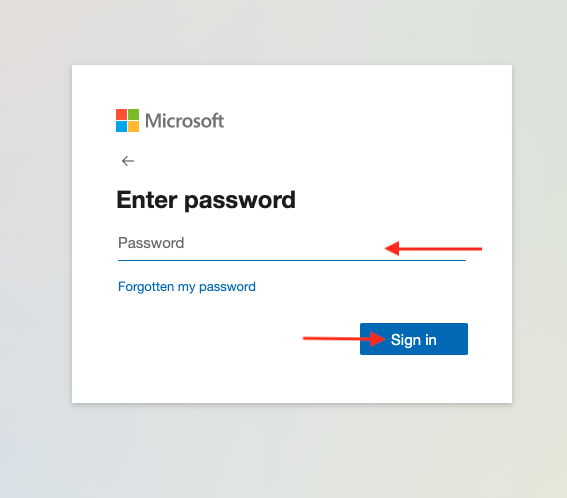
Important: If you are using Multi-Factor authentication, you will be prompted to approve or enter your code after entering your password.
4. Click Yes to stay signed in

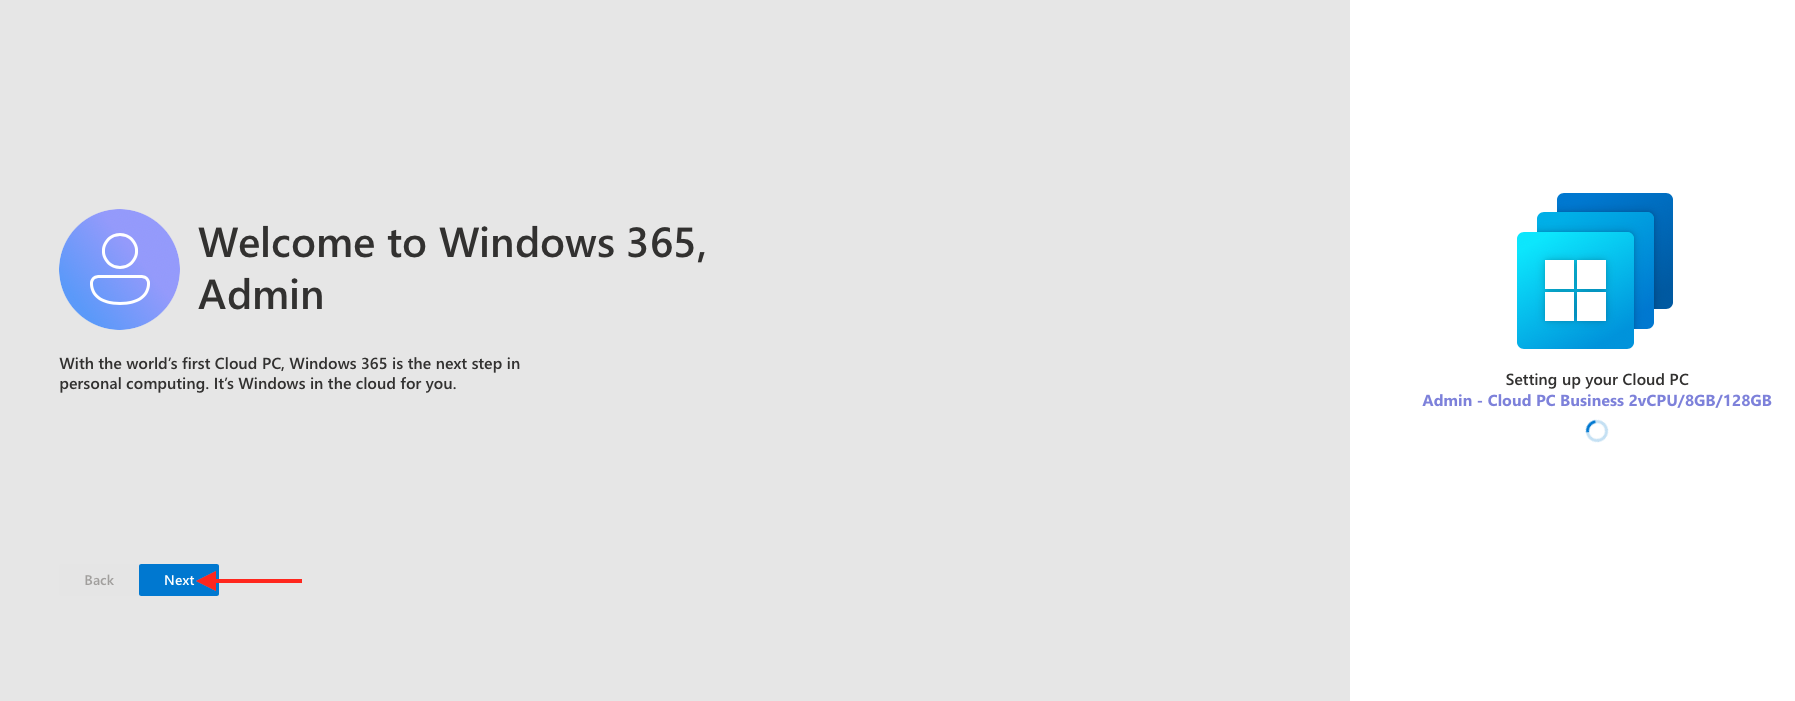
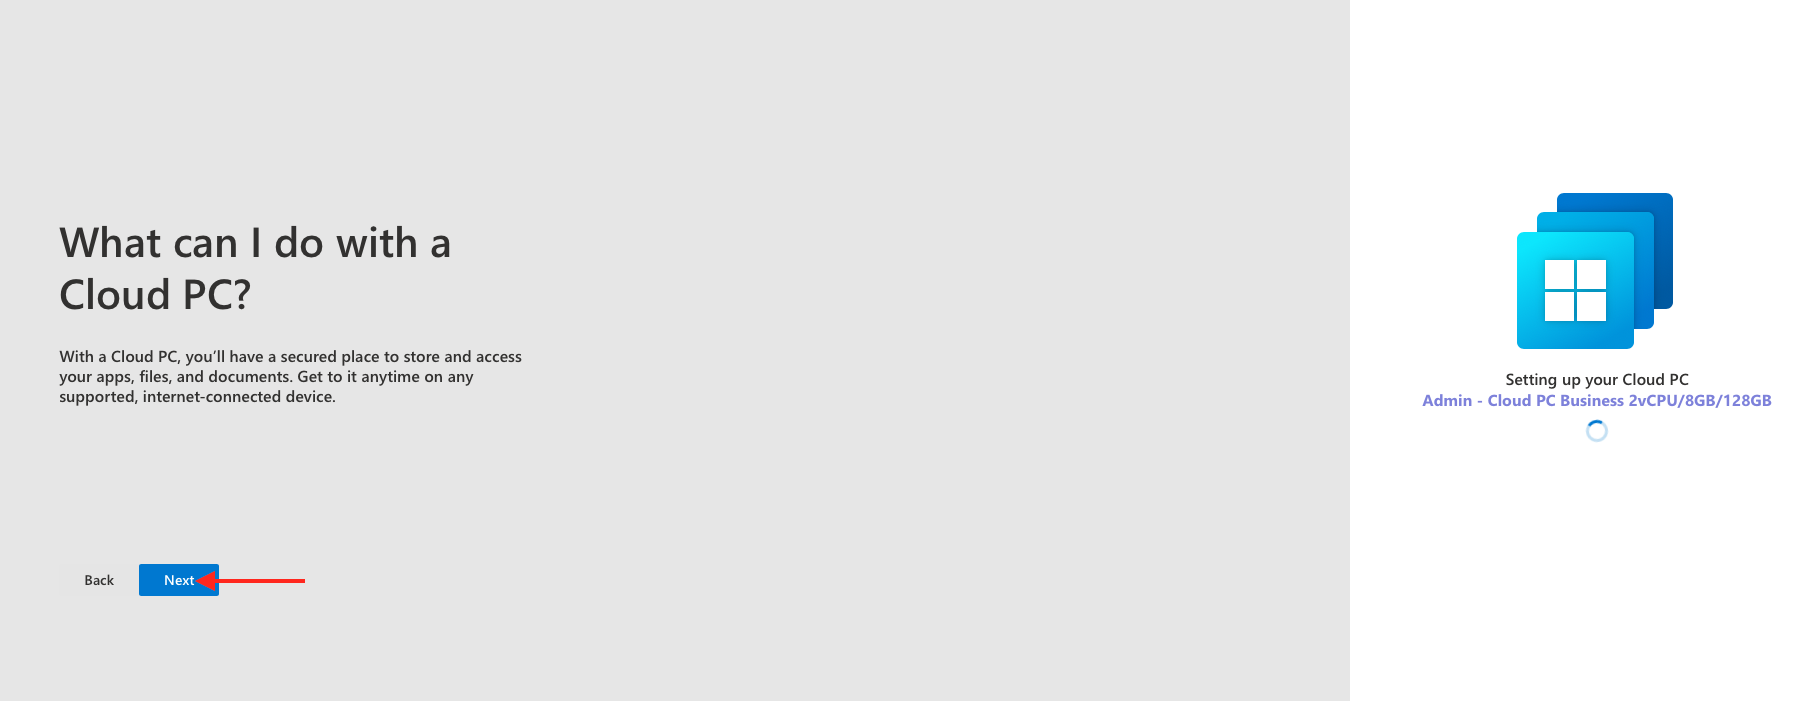
5. Click Next
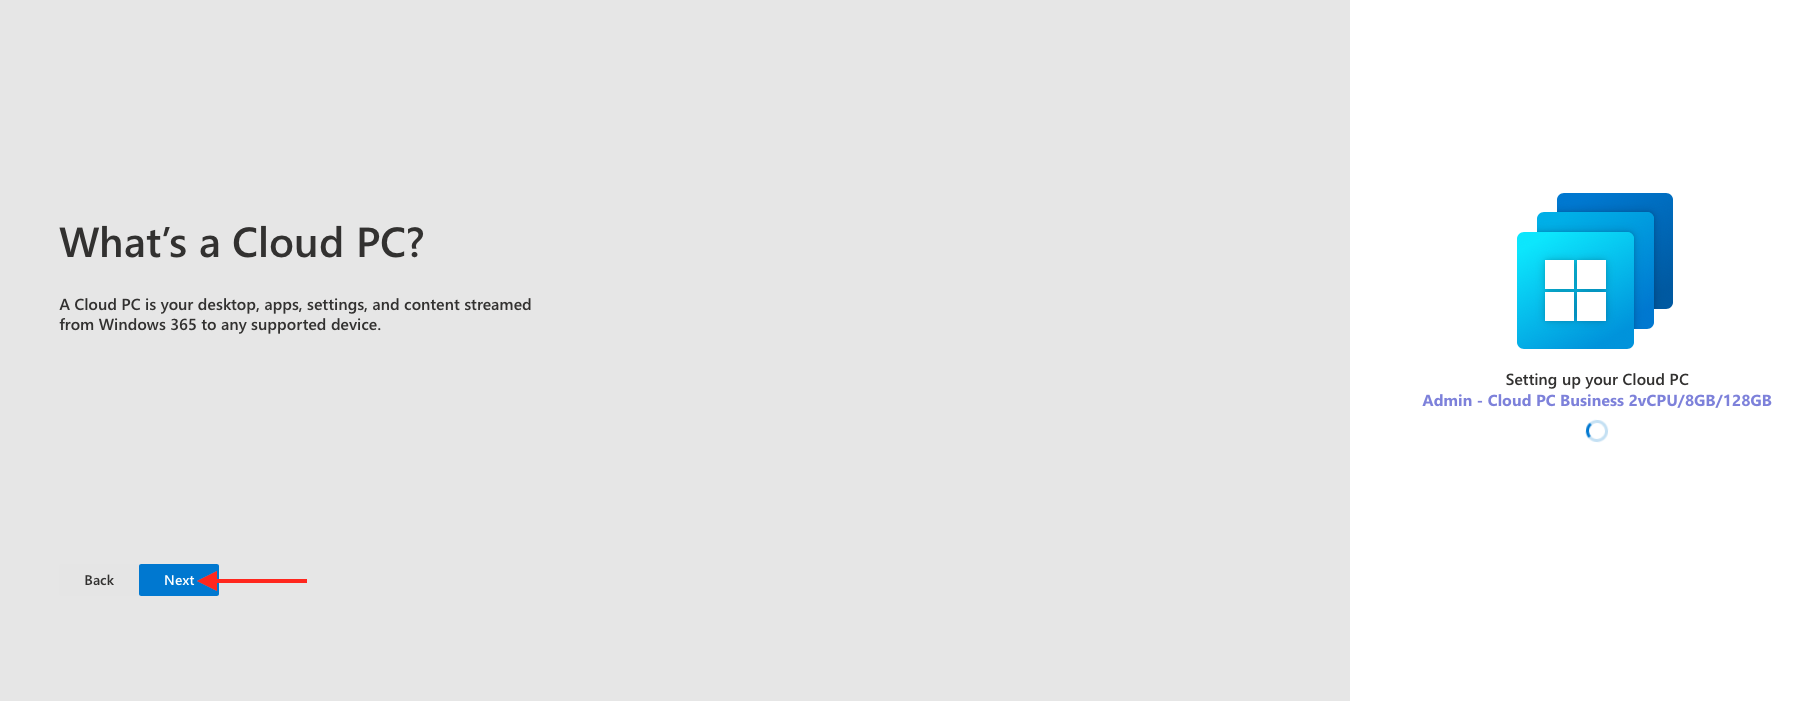
6. Click Next
7. Click Next
8. Click Get started
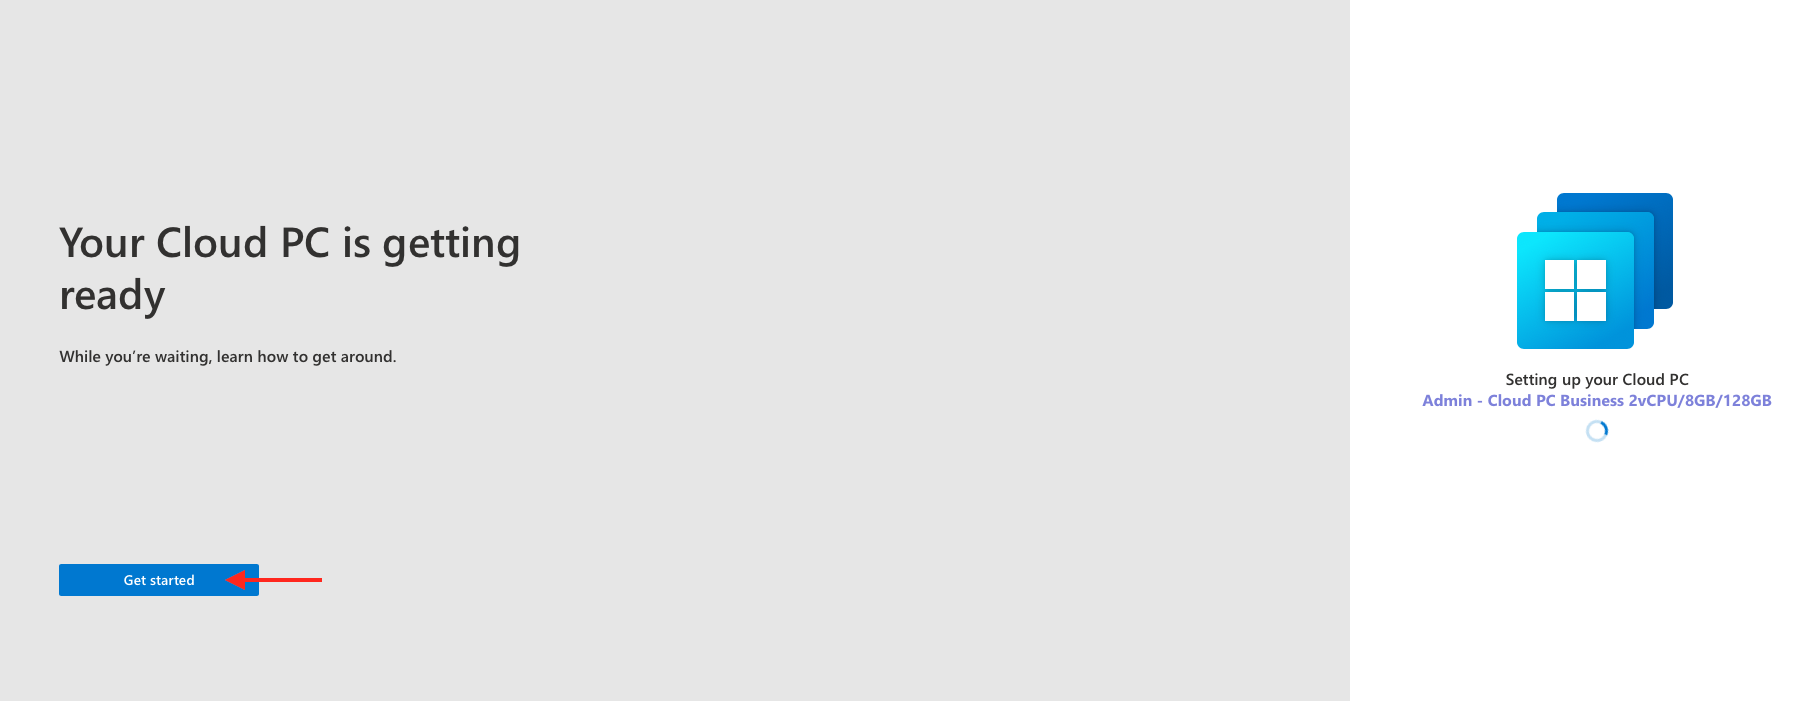
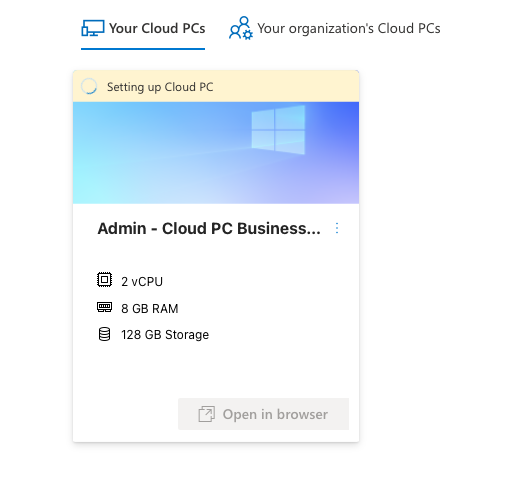
9. Your Cloud PC is now being set up, this can take up to 30 minutes to complete
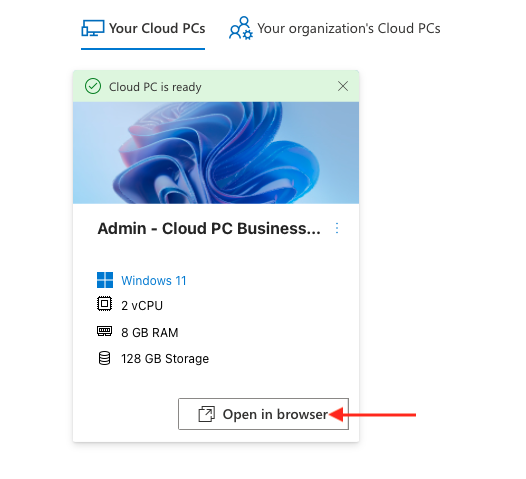
10. Once setup is complete, click Open in browser
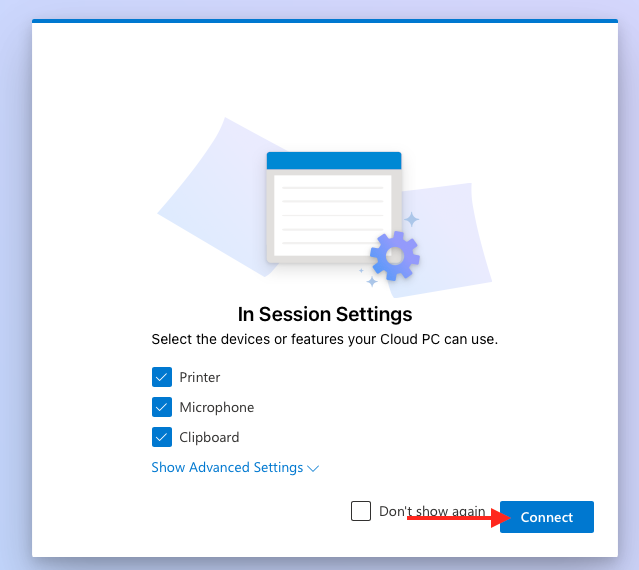
11. Select the devices and features you want to use with your Cloud PC and click Connect
12. Enter your Office 365 email address and password then, then click Sign in
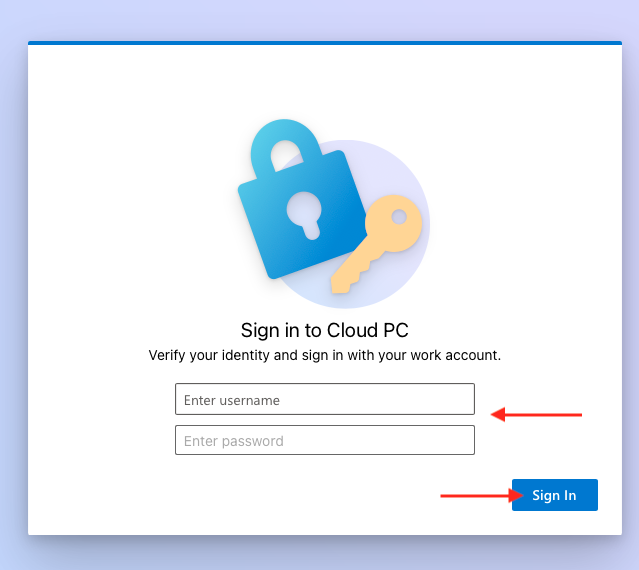
That's it your now signed into your Cloud PC