IMPORTANT: Reset will completely reset your Cloud PC and return it back to factory settings, all setting and data will be erased and you will not be able to recover any lost data, before resetting your Cloud PC please make sure you have taken appropriate backups.
1. Go to https://windows365.microsoft.com/
2. Enter your Office 365 Email Address and click Next
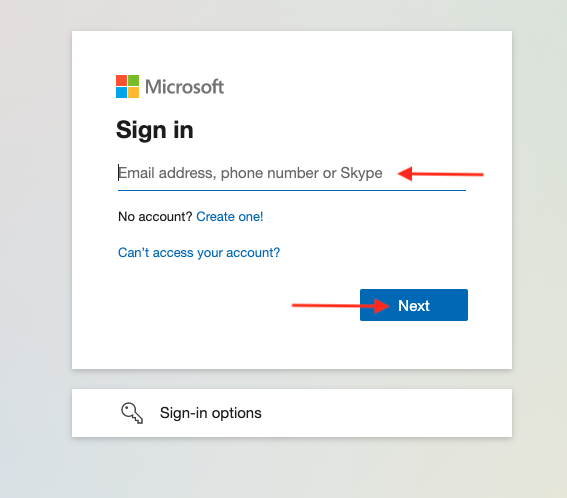
Important: If you are asked about the sign-in type, Please select Work or School Account
3. Enter your Password and click Sign in
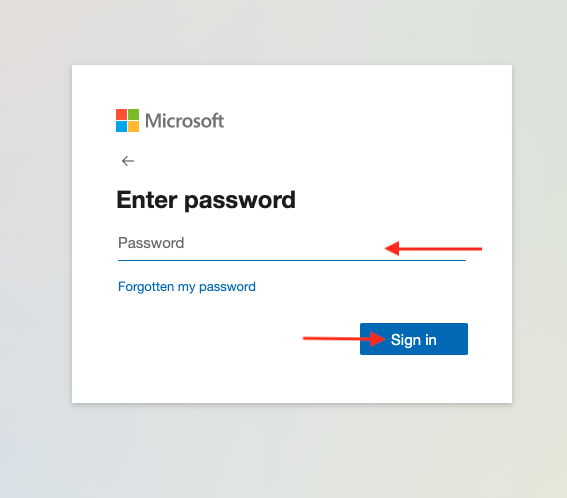
Important: If you are using Multi-Factor authentication, you will be prompted to approve or enter your code after entering your password.
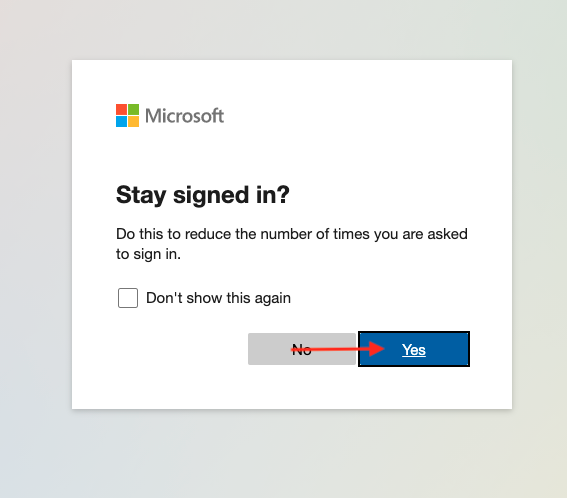
4. Click Yes to stay signed in
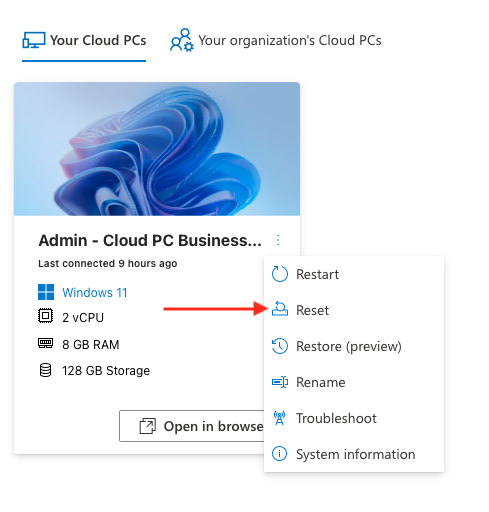
5. Click three dots
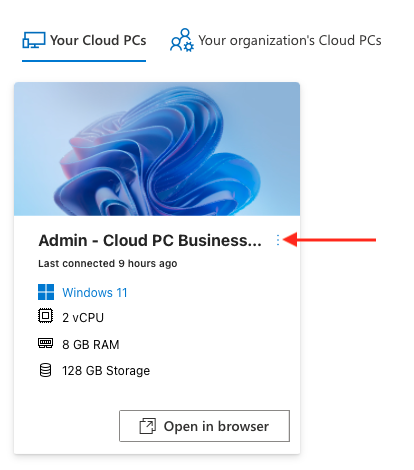
6. Click Reset
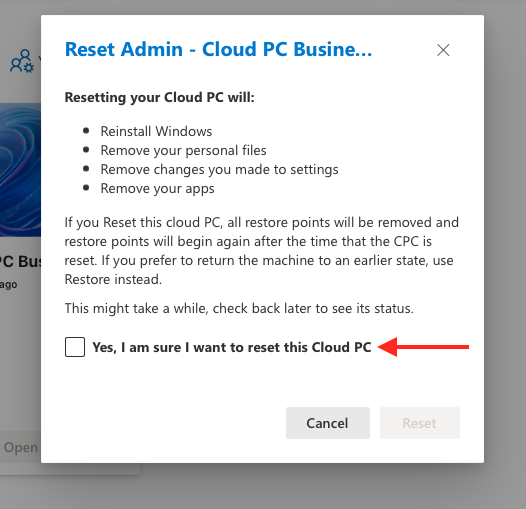
7. Read through the conditions and make sure you agree to them, then tick Yes, I am sure I want to reset this Cloud PC
8. Click Reset
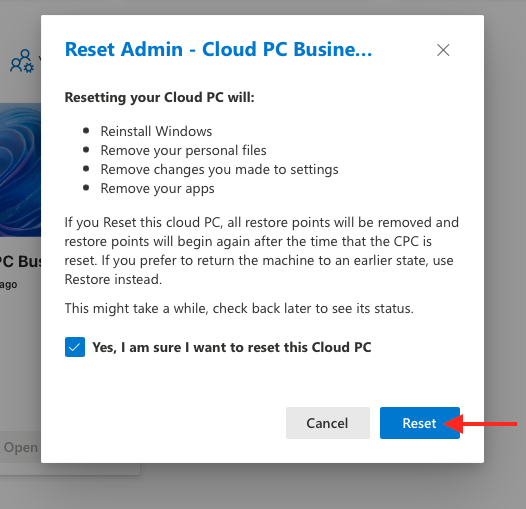
Your Cloud PC will now be reset, this process can take several hours to complete

